
Brawl Stars Nori Build: Best Gadget, Star Power, and Gears
The premier Brawl Stars Nori build pairs the Sushi Snack gadget with the Big Haul star power alongside Damage and Shield gears. This setup sustains Nori during close-range dives by converting landed supers into instant 3,000-health recovery cycles across competitive matches.
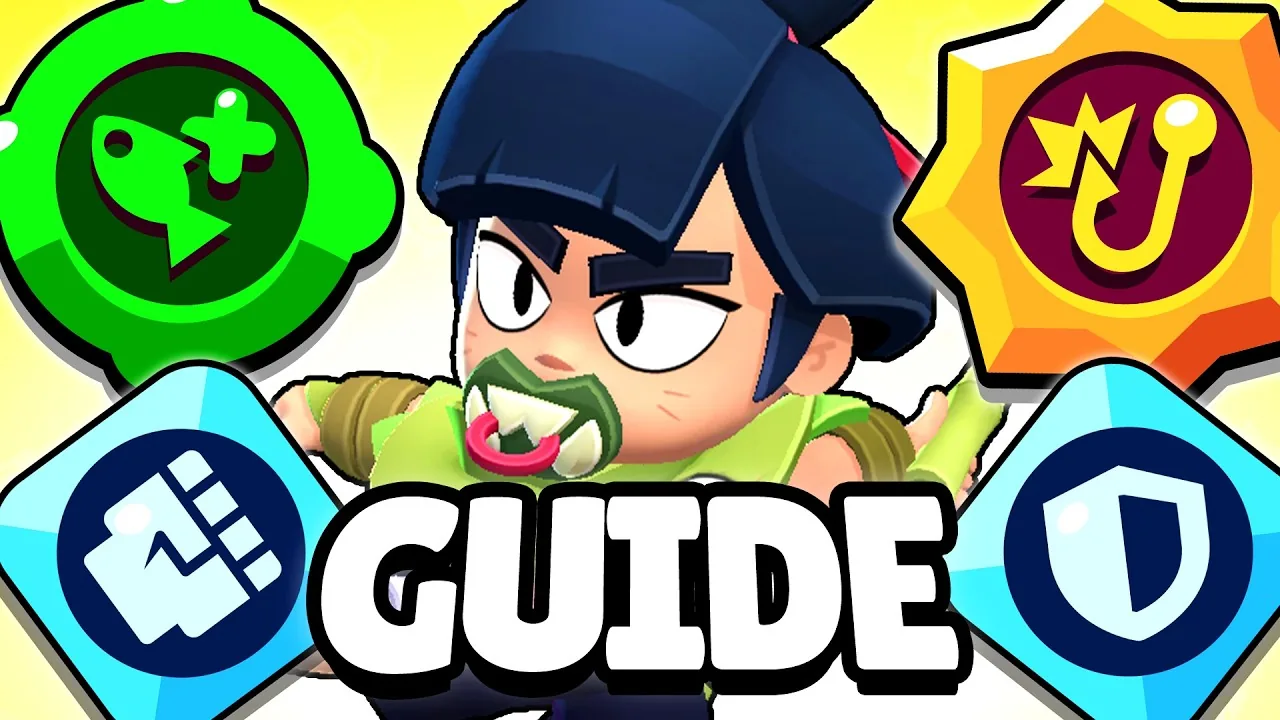
The premier Brawl Stars Nori build pairs the Sushi Snack gadget with the Big Haul star power alongside Damage and Shield gears. This setup sustains Nori during close-range dives by converting landed supers into instant 3,000-health recovery cycles across competitive matches.
Optimal Ability Synergy and Mechanics
Nori operates as a legendary assassin reliant on resource management through his caught fish mechanic. His primary attack, Fishing Fury, deals 2,000 to 2,200 damage with a quick melee slash. Holding the attack charges a fishing line that increases casting distance. Hooking an enemy brawler deals 1,440 damage and pulls Nori forward for an additional 1,440 dash damage, creating a 2,880-damage initiation. Combining the hook with an immediate follow-up attack totals 5,080 burst damage, positioning Nori comfortably alongside the best brawlers for burst execution. Fully charging Fishing Fury against terrain allows Nori to jump cleanly over walls.
Sushi Snack stands out as Nori's most reliable gadget due to its short 12-second cooldown. Activating the gadget consumes up to three collected fish to restore 1,000 health per fish, delivering an instant heal of up to 3,000 health. Because Nori must commit to point-blank range to eliminate targets, this burst of recovery keeps him in the fight without forcing a retreat. By comparison, Gonna Need a Bigger Net fires a projectile that deals 800 damage and roots a target for 1.25 seconds, but its 20-second cooldown restricts its utility during extended encounters.
Big Haul creates a direct gameplay loop with Sushi Snack. When Nori lands Catch of the Day, Big Haul immediately awards three fish. Catch of the Day functions as an area-of-effect dive that deals 2,500 base damage, with each consumed fish granting 5% extra radius and 4% extra damage. By landing the super on an opponent, Nori instantly refills his fish reserve, enabling an immediate Sushi Snack activation to restore 3,000 health mid-skirmish. The alternative star power, His Mother's Son, offers a 20% speed boost for 1 second upon landing a main attack, which provides less overall combat value given the natural mobility already built into Fishing Fury.
Gear Selection and Tactical Loadouts
Shield and Damage gears form the core setup for general competitive play. At level 11, Nori possesses a baseline health pool of 7,000 to 7,600. Equipping the Shield gear provides an extra 900 consumable shield health that regenerates in 10 seconds at full health, raising his starting durability to 8,500. This buffer prevents long-range sharpshooters from whittling down his health before he reaches optimal hook range.
Damage gear activates whenever Nori drops below 50% health, granting a 15% damage increase. Because Nori frequently trades blows in close-quarters skirmishes, he consistently operates below the halfway mark where this damage bonus secures quick eliminations. On bush-heavy battlegrounds such as Cavern Churn, swapping the Shield gear for the Speed gear gives Nori the acceleration needed to ambush rotations from concealment. Health gear serves as an alternative for players who prefer faster 50% health recovery between skirmishes.
Nori Build Decision Table
| Setup Option | Best Situation | Trade-Off |
|---|---|---|
| Sushi Snack and Big Haul | Close-range duels and prolonged team fights | Requires landing Catch of the Day to generate fish charges rapidly |
| Gonna Need a Bigger Net and His Mother's Son | Locking down mobile skirmishers and chaining hit-and-run attacks | Longer 20-second gadget cooldown and zero ability to restore health mid-combat |
| Damage and Speed Gears | Maps with heavy brush coverage such as Cavern Churn | Sacrifices the 900-health buffer provided by the Shield gear |
Mode Strategies and Matchup Tactics
In Brawl Ball, Nori excels at flanking side lanes and isolating vulnerable carriers. Charging Fishing Fury to maximum range lets players leap over structural walls to bypass enemy defenses or intercept loose balls. Committing directly into stacked three-player defenses will result in rapid elimination, so attacks must focus on isolated targets while coordinating with teammates following our ranked guide. In Gem Grab, Nori functions as an assassin rather than a primary carrier. Holding more than three gems exposes the team to massive risk during dives, making him better suited for hunting enemy carriers and escaping with Catch of the Day.
Solo Showdown represents one of Nori's most effective environments, allowing players to swiftly push prestige levels through aggressive power cube collection. His rapid movement speed and wall-jumping mechanics allow him to hunt down opponents across tight terrain. When battling players running a Sirius build, Nori's burst damage and rapid repositions bypass defensive obstacles. In team play, Nori pairs effectively with brawlers running a Colette build to eliminate softened frontline tanks.
Matchups dictate engagement angles:
- Favorable Matchups: Low-health throwers and immobile brawlers like Barley and Chuck struggle against Nori's wall leap and gap-closing hook.
- Threatening Matchups: High-burst brawlers and knockback defenders such as Doug, Griff, Otis, Gale, Bull, and Shelly can interrupt Fishing Fury or eliminate Nori before his burst sequence concludes. Avoid direct frontal engagements into these brawlers without gadget support.
Next step
Sirius Build
Select the ideal gadgets, star powers, and gears to optimize shadow generation and battlefield control with Sirius in Brawl Stars.