
Brawl Stars Find Gus Laboratory: Complete Puzzle Walkthrough & Pin Unlock
Complete the Brawl Stars Find Gus laboratory puzzle by assembling Belle's lightgun, combining chemical solutions across two rounds, and powering the generator to earn Chaos Drops and an exclusive Piper pin.
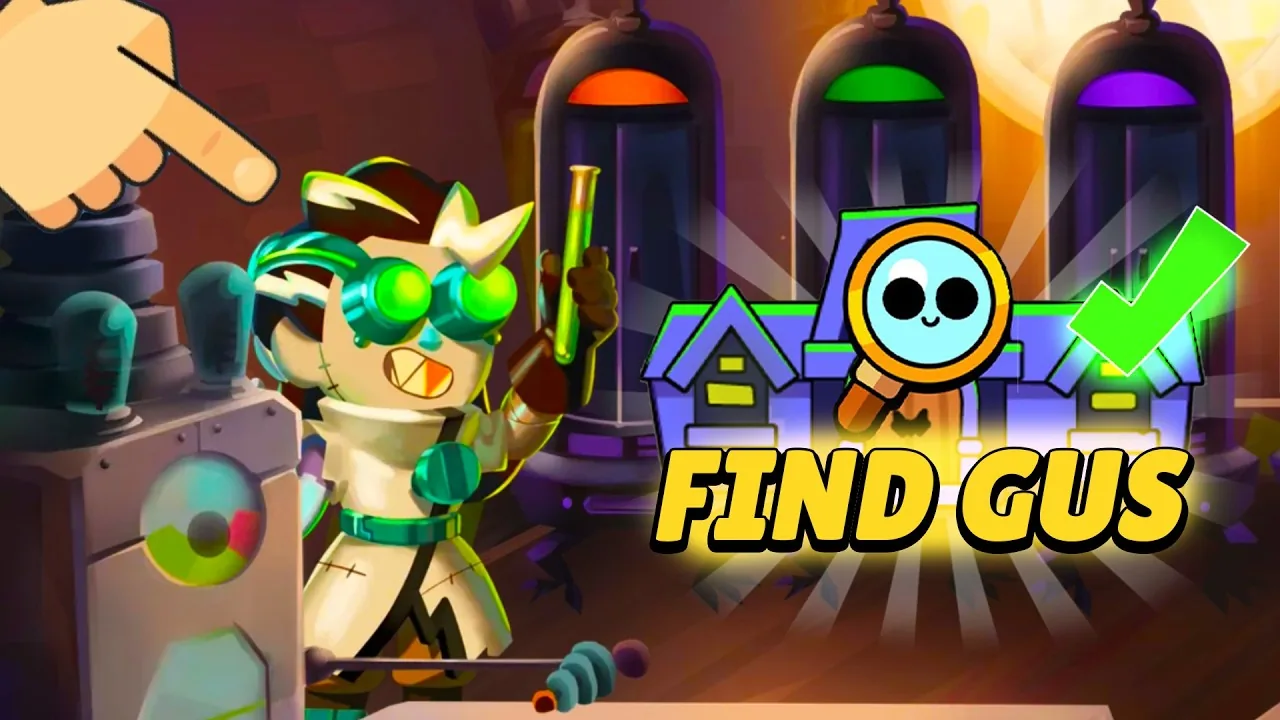
The Brawl Stars Find Gus laboratory puzzle is one of the most intricate interactive challenges featured in the Mortis' Mortuary investigation event. To complete this stage, players must locate hidden components to assemble Belle's experimental lightgun, formulate precise color combinations across two chemical mixing phases, and restore power to Frankenstein Piper.
Follow this complete walkthrough to solve every step of the laboratory room, avoid failed mixing loops, and claim your Chaos Drop alongside the hidden Piper cosmetic reward.
How to Unlock the Find Gus Laboratory
Before you can interact with the laboratory workbench, you must clear the prerequisite event rooms:
- Complete the Entrance and Hallway: Ensure you have fully explored the main foyer and finished the Find Gus hallway sequence.
- Win 3 Battles: After completing the hallway, the laboratory blast door locks behind an event objective requiring three victories in any standard multiplayer or ranked game mode.
- Inspect the Mortuary Map: Return to the event hub, tap the illuminated purple door on the right wing of Mortis' Mortuary, and trigger Belle's opening dialogue to enter the lab.
Step 1: Assembling Belle's Lightgun
Upon entering the room, Belle notes that her lightgun is disassembled and scattered around the chemical workstation. You cannot activate the chemical heating coils or trigger the electrical reaction without restoring this tool first.
- Component 1 (Capacitor): Tap the small metallic device with an antenna located immediately to the left of the chemical beaker station.
- Component 2 (Tesla Coil): Tap the vertical bronze coil resting on the upper shelf at the far-right corner of the workbench.
- Component 3 (Power Cell): Open the bottom wooden drawer underneath the main work surface by tapping the brass handle. Collect the glowing battery stored inside.
Once all three items are in your inventory, drag each piece onto the blueprint outline sitting on the center table. Tap the assembled lightgun to charge it and equip Belle for the chemical sequence.
Step 2: Chemical Color Mixing Recipes
With the lightgun powered, Belle approaches the chemical synthesis terminal. To synthesize the resuscitation serums, you must dispense base liquids (Red, Blue, and Yellow) into the test chamber and zap them with the lightgun at the correct temperature.
Round 1: Primary Infusion
The objective in Round 1 is to create Purple and Orange compounds to stabilize the pod's life-support meters:
- Formula A (Purple Stabilizer): Tap the Red dispenser valve once, tap the Blue dispenser valve once, and press the ignite button on Belle's lightgun.
- Formula B (Orange Catalyst): Tap the Red dispenser valve once, tap the Yellow dispenser valve once, and fire the lightgun to brew the second vial.
Pour both completed mixtures into the left drainage tube to complete the first half of the meter.
Round 2: Advanced Pigment Synthesis
The second round introduces secondary blends that require clearing the beaker if an error occurs. If your beaker displays brown sludge, tap the sink drain lever on the left to reset:
- Formula C (Green Vitalizer): Combine Blue + Yellow. Tap the lightgun once the dial reaches the green marker.
- Formula D (Deep Magenta Infusion): Combine Red + Red (double tap the red valve) + Blue. Ignite using the secondary charge burst.
Once both fluids flow into Piper's containment pod, the pod glass will shatter, moving the sequence to the final power phase.
Step 3: Calibrating Belle's Electrical Generator
With the chemical mixture injected, the laboratory loses power. Walk over to the generator panel on the back wall behind the containment pod:
- Flip the Master Switch: Tap the red lever on the bottom-right of the generator unit to activate the fuse box.
- Match the Voltage Frequencies: Three slider dials will appear on screen. Slide the left switch to Level 3, the center switch to Level 1, and the right switch to Level 4 until all three indicator lights turn solid emerald green.
- Enter the Generator Sequence: Look at the chalkboard scribbles in the upper-left corner of the room. The symbols correspond to the button sequence on the console keypad:
- Triangle → Skull → Lightning Bolt → Star
Entering this sequence restores full electrical current to the laboratory, triggering a short cutscene where Frankenstein Piper revives and hands over the primary investigation token.
Secret Rewards: How to Unlock the Piper Laboratory Pin
Beyond the standard event progression, the Find Gus laboratory contains a time-sensitive Easter egg that awards an exclusive animated Piper profile pin:
- Do not leave the room immediately after Piper wakes up.
- Walk over to the shattered containment glass on the floor.
- Tap the yellow parasol handle sticking out from the debris exactly five times.
- A dialogue bubble will pop up showing Gus waving from the ventilation shaft above, automatically depositing the Franken-Piper Laboratory Pin directly into your inbox.
Completing the room also rewards you with 100 Event Tokens, a guaranteed Chaos Drop, and unlocks the passage leading into the final basement vault.
Next step
Parlor Guide
Follow step-by-step room setups to match all three crystal ball visions in Mr. P's Parlor and claim your event reward.
Related Guides
Parlor Guide
Follow step-by-step room setups to match all three crystal ball visions in Mr. P's Parlor and claim your event reward.
Scary Coffins Predictions
Check all twenty-four visual clues, confirmed coffin reveals, and prediction mechanics for the Brawl Stars Halloween event.
Creator Coffins Rewards
Track all daily Creator Coffins event rewards, community damage milestones, and how to pick the right creator team in Brawl Stars.
Duolingo Event
Learn the boss mechanics, community detention requirements, and reward milestones for the Brawl Stars Duolingo crossover event.