
Brawl Stars Draft Strategy: Counters, Classes, and Modes
Brawl Stars draft strategy centers on countering enemy archetypes through a rock-paper-scissors system of control, tank, and anti-tank brawlers. Successful picks require balancing team damage, respecting lane matchups, and securing objective control across specific competitive modes.
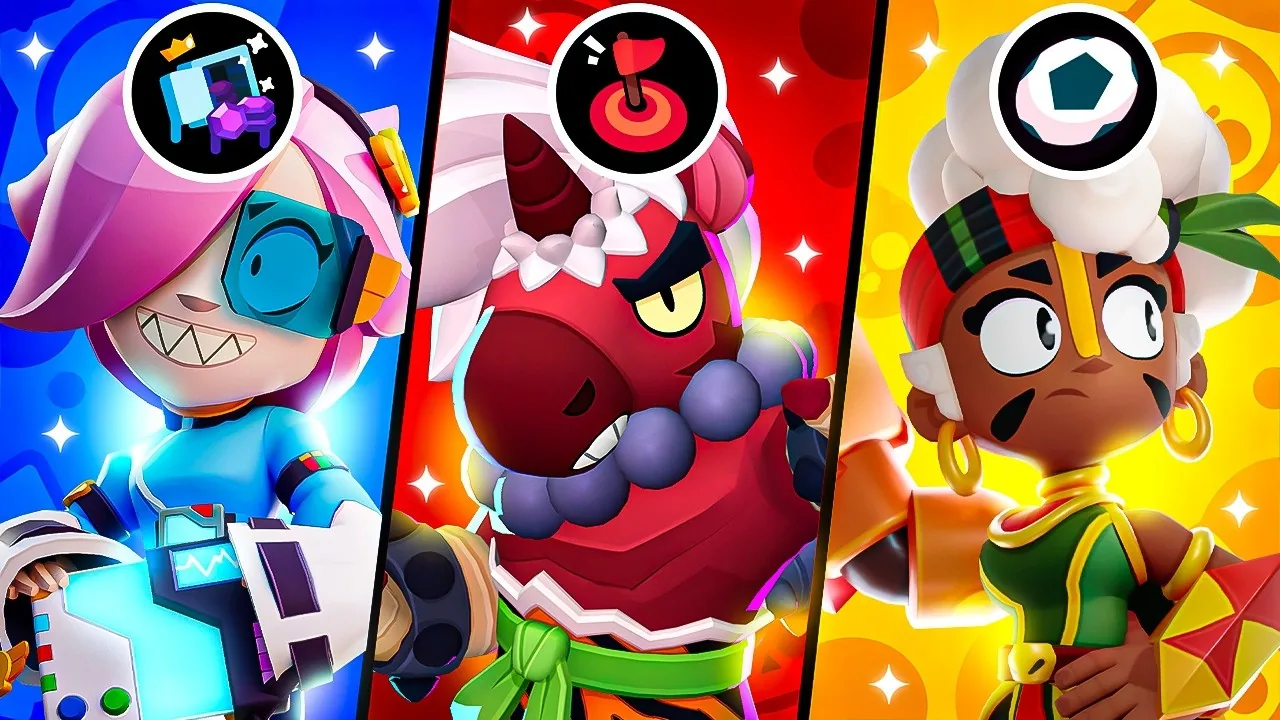
Brawl Stars draft strategy centers on countering enemy archetypes through a rock-paper-scissors system of control, tank, and anti-tank brawlers. Successful picks require balancing team damage, respecting lane matchups, and securing objective control across specific competitive modes.
The Core Counter Triangle in Competitive Drafts
Competitive drafting operates on an archetype triangle consisting of control, tank or assassin, and anti-tank brawlers. Recognizing how these three groups interact prevents teams from being hard-countered during the pick phase.
Control brawlers such as Belle, Angelo, Gene, and Gus use superior range to maintain pressure and lock down open lanes. Their primary weakness is low burst defense when closed down by aggressive threats. Tanks and assassins, including Mortis, Kenji, Draco, and Bull, aim to push forward, absorb damage, and break enemy formations. While aggressive picks collapse easily on isolated control brawlers, they suffer heavily against high-damage anti-tanks.
Anti-tank options like Colette, Surge, Otis, Chester, and Gale rely on sustained percentage damage, pushbacks, stuns, or mutes to stop forward advances. A team that lacks an anti-tank pick gives enemy tanks free reign over the map, while relying entirely on anti-tanks leaves a squad vulnerable to long-range sharpshooters.
| Draft Archetype | Best Drafting Scenario | Draft Trade-off |
|---|---|---|
| Control (e.g., Belle, Gene, Gus) | Open maps requiring lane spacing and steady mid control | Vulnerable to direct dives from tanks and assassins |
| Aggressive / Tank (e.g., Kenji, Draco, Mortis) | Maps with wall cover to break lines and overwhelm squishy targets | Feeds super charge and collapses against anti-tank crowd control |
| Anti-Tank (e.g., Colette, Chester, Otis) | Countering early tank selections and securing close-range defense | Gets outranged and pressured by long-range snipers on open terrain |
Pick Order and Ban Tactics
Drafting turns alternate between teams, meaning early picks require different considerations than late responses. In structured formats, the draft begins with bans before moving into first, middle, and final selections.
First pick should go to flexible brawlers that do not suffer from immediate hard counters. Choices like Chester, Otis, Gene, or Angelo work well because they can hold lane control without exposing a fatal team weakness. First-pick teams often ban heavy assassins such as Edgar or Mortis to protect their ranged options, or ban specific utility brawlers like Cordelius and Otis when planning to run dive picks.
Picks two and three function as direct counterpicks to the first selection while beginning to establish the team core. When facing a first-pick sniper, selecting an aggressive space maker forces the opponent onto defense. Picks four and five stabilize the composition by filling gaps in safe damage or frontline presence.
The sixth and final pick carries immense value because the opposing roster cannot adjust to it. A well-timed last pick can lock in an uncontested thrower such as Willow, Sprout, or Barley if the enemy composition lacks dive potential. Alternatively, the final selection can introduce a tank like Darryl to punish an opposing team that drafted multiple squishy snipers. Using a dedicated ranked guide helps clarify how ban phases shift across different competitive ranks.
Mode-Specific Drafting Priorities
Every game mode prioritizes distinct win conditions that dictate which best brawlers belong in your draft pool.
Gem Grab
Gem Grab drafts require a reliable mid lane carrier supported by two aggressive or control side lanes. Brawlers with mobility or self-preservation tools, such as Gus, Meg, or Stu, prevent the enemy from wiping gem progress in a single push. Side laners need sufficient damage to contest bushes without yielding space, as losing lane control allows the opponent to trap your team at spawn.
Brawl Ball
Brawl Ball prioritizes physical presence, map control, and team-wipe potential. Anti-tank brawlers remain premier early picks here because tanks frequently attempt to walk the ball into the goal. Pairing high-damage dealers with crowd-control abilities stops enemy advances, while activating the best hypercharge options on brawlers like Chester or Gale provides the burst required to open the net.
Heist
Heist matches demand high safe damage alongside adequate defensive answers. Drafting only safe-racers risks defeat against coordinated counter-pushes, while running three defensive control brawlers leaves the enemy safe untouched. Competitive sets show teams like ZETA DIVISION drafting Otis to mute aggressive rushers like Darryl, while Carl uses Flying Hook to pressure side lanes and damage the objective. Checking the best brawlers for each map reveals whether long-range damage like Brock or aggressive divers suit the terrain.
Hot Zone and Knockout
Hot Zone requires staying power inside the capture radius. Tanky presences like Meg, Pam, and Colette hold ground, while throwers punish static zone defenders from behind walls. Knockout, by contrast, values survivability and trade potential above raw health. Brawlers with range and escape gadgets, such as Piper, Nani, or Brock with Rocket Fuel, open angles and secure eliminations without feeding early defeats.
Critical Drafting Traps to Avoid
A frequent drafting mistake is pairing two single-shot brawlers with low burst damage, such as running Gus alongside Stu. This combination struggles to burn down high-health tanks like Frank or Ash, resulting in the team being pushed back into spawn.
Teams also falter when they fail to read terrain modifications. On maps with clustered obstacles, failing to draft a wall breaker against enemy throwers allows opponents to hide safely and control chokepoints. Conversely, on maps divided by water, ignoring brawlers with water traversal mechanics like Angelo or Eve gives away free positioning advantages.
Drafting requires building a complete unit with damage, survivability, and objective pressure rather than selecting three individual power picks. Reading the map, anticipating counterpicks, and covering class weaknesses directly decides the outcome of high-level matches.
Next step
Early Game Guide
Learn optimal upgrade thresholds, currency management rules, and trophy milestones to advance your account quickly without wasting resources.